


Installing a CV (Constant Velocity) boot clamp is crucial to maintain the functionality and longevity of a vehicle's CV joint. To ensure a smooth and hassle-free process, the use of a CV boot tool is highly recommended. In this blog post, we will guide you through the step-by-step process of installing a CV boot clamp for optimal results.
1. Gather the Necessary Tools:
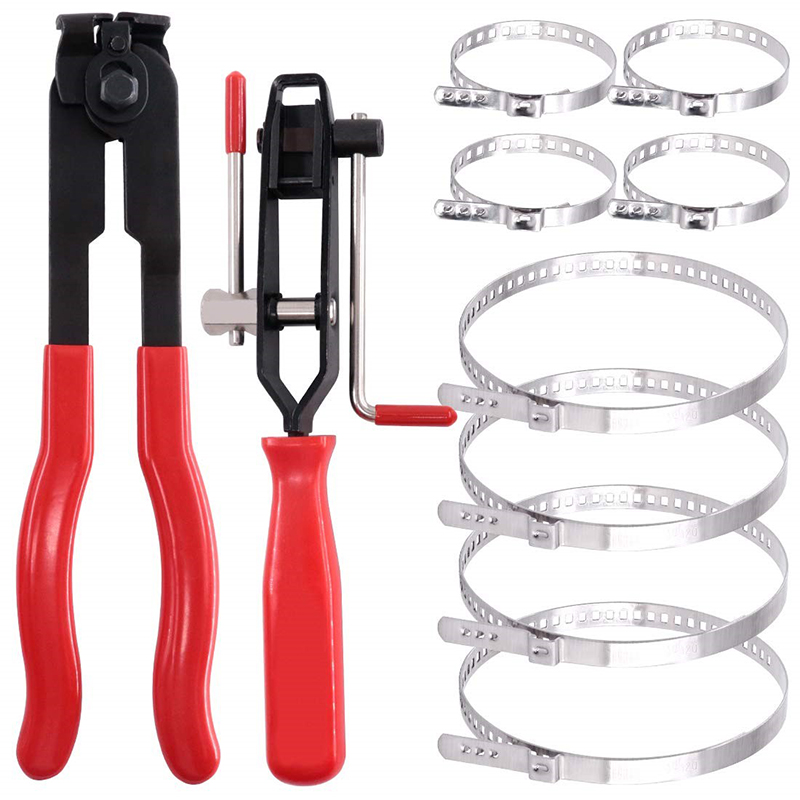
Before proceeding with the installation, it is essential to gather the required tools. These include a CV boot clamp, a CV boot tool, a socket set, pliers, a flathead screwdriver, safety gloves, and a clean rag. Ensuring that these tools are readily available will help streamline the installation process.
2. Prepare the Vehicle:
To successfully install a CV boot clamp, it is crucial to prepare the vehicle. Park the vehicle on a flat, sturdy surface, and engage the parking brake for added safety. Additionally, turn off the engine and allow it to cool down before starting the process.
3. Remove the Damaged CV Boot:
Carefully inspect your vehicle's CV joint and determine if the current boot is damaged or worn out. If so, proceed by removing the old CV boot. This can be accomplished by using pliers or a flathead screwdriver to loosen and remove the clamps securing the boot. Gently pull the boot away from the joint, taking care not to damage any surrounding components.
4. Clean and Lubricate the CV Joint:
With the old CV boot removed, thoroughly clean the CV joint using a clean rag. Ensure that no debris or dirt is present, as it may lead to premature wear and tear. After cleaning, apply a suitable CV joint grease, ensuring that it is evenly distributed across the joint surface. This lubrication will minimize friction and help maintain the joint's efficiency.
5. Install the New CV Boot:
Take the new CV boot and slide it onto the joint, ensuring a snug fit. Next, position the CV boot clamp over the boot, aligning it with the marked groove on the joint. Using the CV boot tool, tighten the clamp until it securely holds the boot in place. Ensure that the clamp is evenly tightened without being overly constricted.
6. Finalize the Installation:
Lastly, inspect the installed CV boot clamp to verify its stability. Double-check if the boot is securely in place and securely fastened by the clamp. Clean any excess grease or dirt from the surrounding area. Once satisfied, start the vehicle and perform a slow test drive to ensure everything is functioning correctly.
By following the step-by-step process detailed above, even novice vehicle owners can confidently install a CV boot clamp using a CV boot tool. This essential maintenance task helps protect the CV joint, ensuring smooth operation and extending the life of your vehicle. Always remember to prioritize safety and take your time throughout the installation process.
Post time: Oct-13-2023