


Ball joints are critical suspension parts but difficult to remove or install. This post will teach you how to change them easily using a ball joint tool.
Removing ball joints with a ball joint tool is one of the most common tasks for automotive technicians. If you are not trained in this process, it can be difficult to remove them without breakage or other damage. In this article, we will show you how to use a ball joint tool when replacing ball joints as well as how to choose the right type of the tool.
About the Ball Joint Tool
A ball joint tool is a special device that technicians and DIY enthusiasts use during ball joint replacements. It enables users to press out old ball joints and press in new ones in their place. There are 3 different types of the ball joint service tool that you can use: pickle fork, claw type, and ball joint press. Here is a brief description of each.
● Pickle fork-also commonly called ball joint separator, the ball joint fork is a 2-prong device that you insert between the spindle and control arm to force the joint assembly out.
● Claw type-this is essentially a ball joint puller tool that comes with 2 claws and threaded shaft in the middle. Ball joint pullers are typically used to remove tie rod and ball joints.
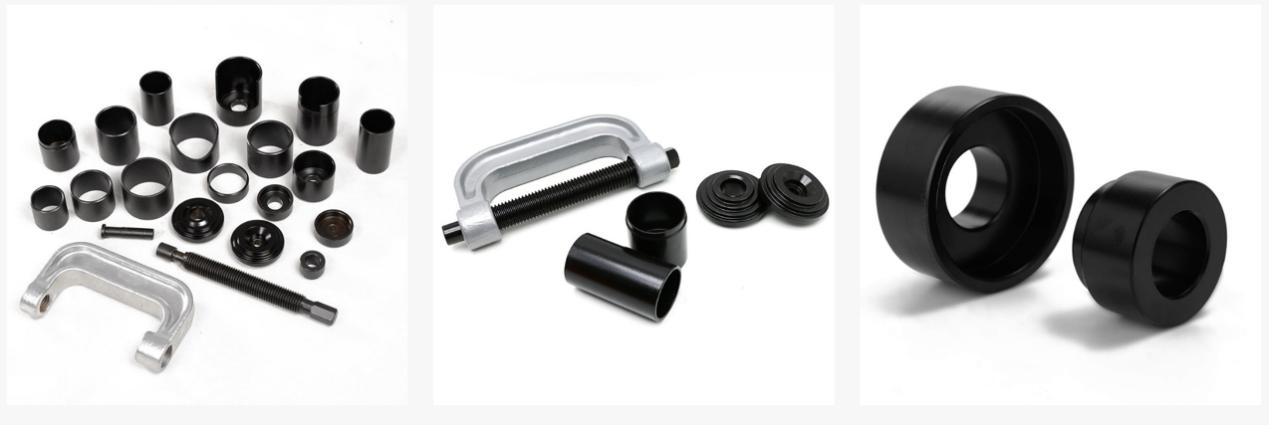
● Ball joint press– the ball joint press and removal tool is the most elaborate of the three- and the most convenient to use. However, it’s also the most expensive. The tool is essentially a large C-clamp that features a threaded shaft on the top piece and a hole in the bottom piece.
In this ball joint replacement tutorial, we will use the ball joint press.
How to Remove a Ball Joint with a Ball Joint Tool
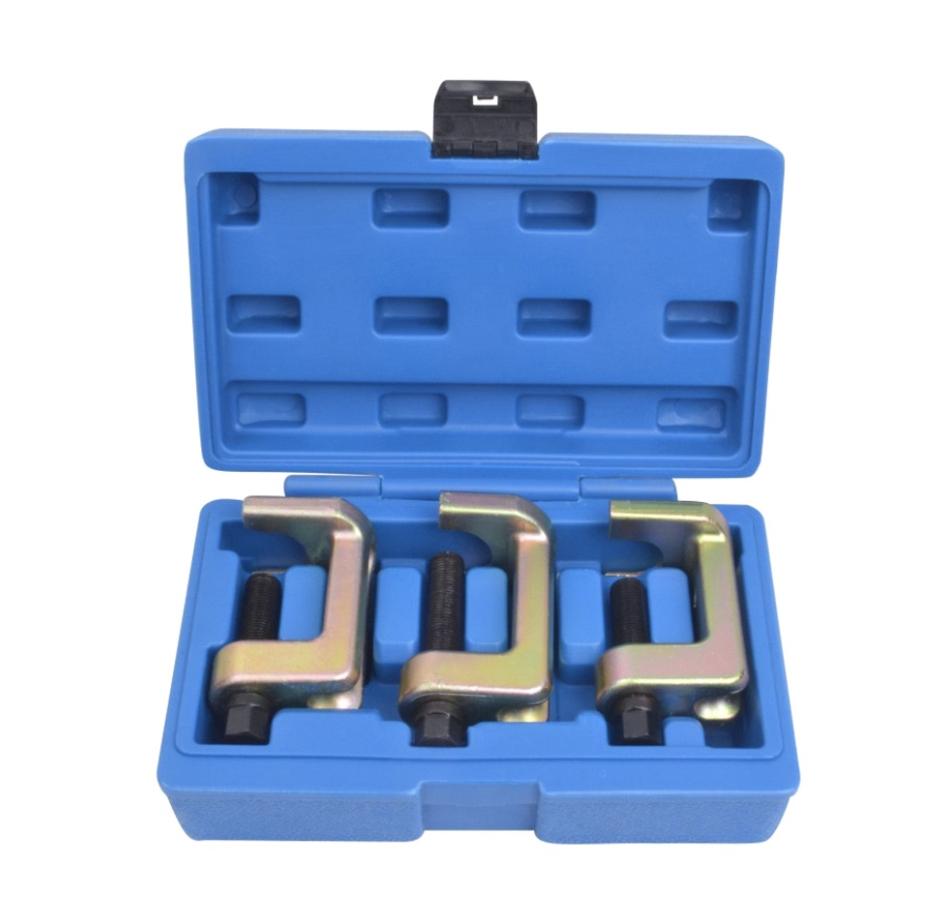
The ball joint tool is mostly built to service a range of cars or trucks. It’s, therefore, mostly available as a kit. A ball joint press kit is basically the C-shaped clamp (press) and several adapters. The ball joint kit adapters are designed in different sizes, allowing them to fit a range of applications.
Here is how to use a ball joint tool.
What you’ll need:
● Jack
● Breaker bar
● Torque wrench
● Ratchet and socket set
● screwdrivers
● Hammer
● Penetrating fluid
● Rug/wire brush
● Ball Joint Press Kit
Step 1: Park your car or truck in a safe and flat surface. This can be an open garage or parking lot.
Step 2: Lift the vehicle and place chocks on both sides of the rear wheels.
Step 3: Take out the wheel assembly. This will allow you to conveniently access the ball joint.
Step 4: Next, remove the brake caliper assembly followed by the brake rotor.
Pro Tip: spray every bolt that you will need to remove with penetrating fluid. The fluid will loosen them and make their removal easier.
Step 5: Disconnect the tie rod end, lower strut, and upper control arm.
Step 6: It’s now time to take out the ball joint using your ball joint removal tool kit. Here is how to do it.
● Find the right ball joint press adapters based on your application.
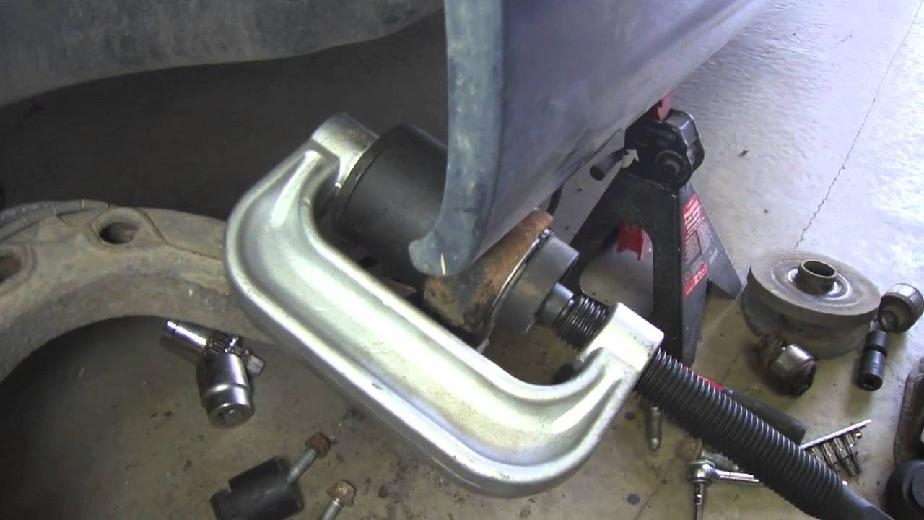
● Place the tool over the ball joint and control arm assembly with its threaded shaft facing downward.
● It’s now time to connect the ball joint compressor tool. Position its deep, receiving cup above the ball joint top. Install the other parts as well.
● Use the socket and ratchet or wrench to tighten the threaded shaft of the ball joint tool.
● Tighten the tool until the ball joint pops out of its housing in the control arm.
Step 7: Clean the inside of the ball joint hole and the area around it using brake cleaner and rug. You’re now ready to install the new ball joint. You will still need the ball joint press for this task. Follow these steps.
● Insert ball joint inside the tool’s deep cup.
● Position the tool over ball joint receptacle on the control arm.
● Tighten the tools threaded shaft. This will slowly force the ball joint into the hole.
● Keep checking to ensure the ball joint press is pushing the joint down correctly.
● Uninstall the ball joint tool.
Step 8: Lastly, re-install the other components in reverse order then lower car. Check the ball joint to ensure it’s correctly installed.
Best Ball Joint Tool
When out shopping for a ball joint tool, you’re bound to come across a few different types. Your choice will therefore determine many things, from how easy the tool will be to use, convenience, and quality features such as durability. What is the best ball joint tool? Here’s what to know:
A ball joint press, despite being more expensive, is safer on the ball joint, and will not cause damage to it or other parts. A ball joint separator fork, on the other hand, does a quick job, but at the expense of a damaged ball joint. A ball joint puller tool, on the other hand, is straightforward to use but not as safe as a press.
There’s also tool quality to consider. The best ball joint tool should be made from premium or high-strength materials such as hardened steel, given the amount of forces it has to bear during use. Other considerations include compatibility and universality. You want a tool that will meet your car repair needs.
Post time: Dec-02-2022