


A wheel bearing tool aids in the removal of wheel bearings without damaging the hub or the bearing itself, and can be used for both front and rear wheel axles. You can also use it to install bearings, making it a handy, dual-purpose device. Continue below to learn how to use a wheel bearing removal tool when replacing wheel bearings.
What is a Wheel Bearing Tool?
A wheel bearing tool is a type of device that enables the easy removal and installation of wheel bearings. In other words it’s a wheel bearing remover/installer tool that comes in useful when serving your car. Some common uses for the tool include:
● Changing out wheel bearings on vehicles with FWD setups
● Extracting or mounting bearings from press-fit applications
● Service procedures involving wheel bearings such as bearing races
Wheel bearings are small metal balls or rollers that help a car’s wheels spin freely and smoothly. When the bearings need to be replaced, it means that they cannot do their job properly.
You know your car wheel bearings are worn or damaged if you notice the following: unusual noise, vibration, wheel shake, and excessive wheel play.This video shows how to check for wheel bearing play.
Wheel Bearing Tool Kit
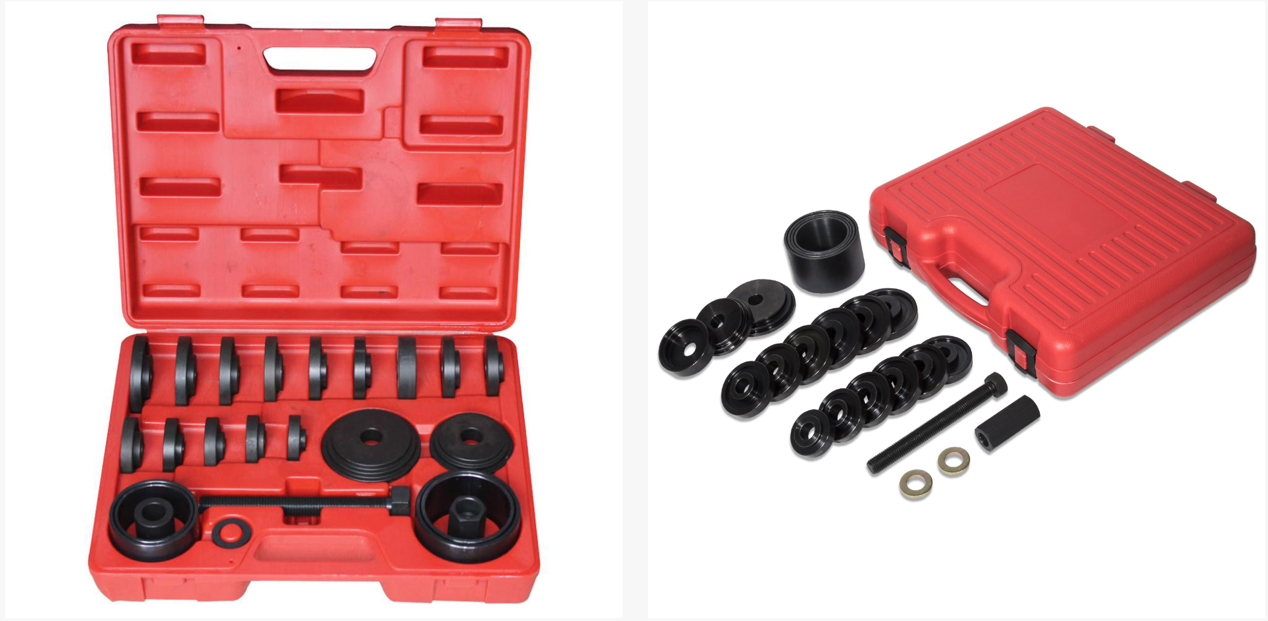
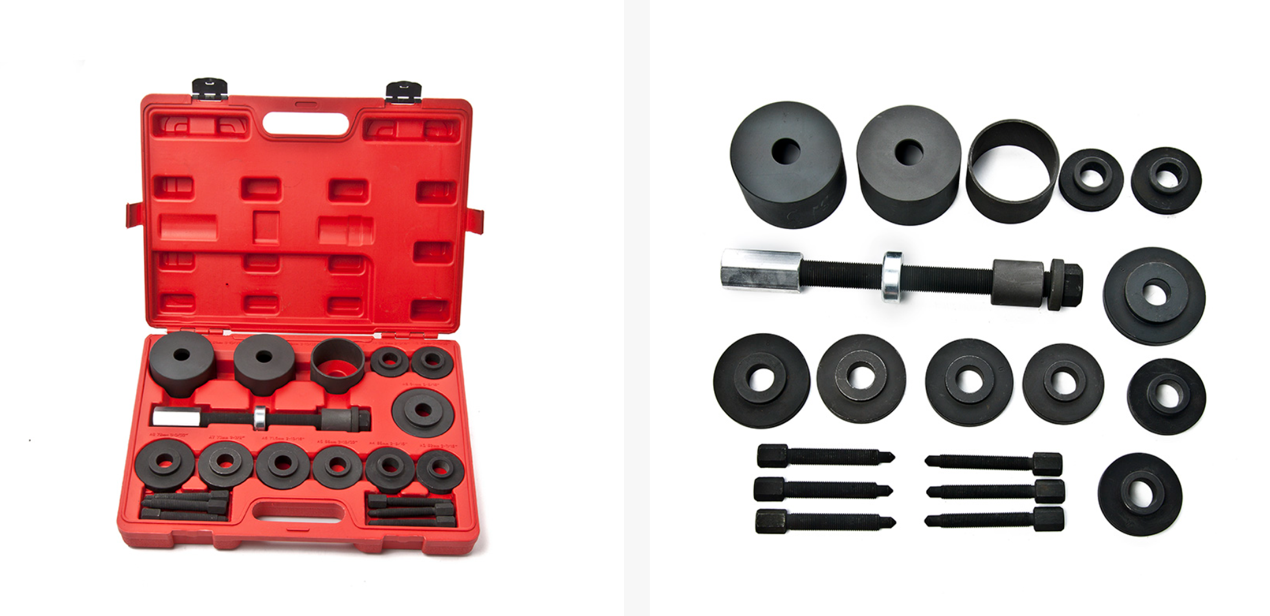
A bearing pressing tool normally comes as a kit. That means several pieces, each designed to fit a specific vehicle. With a wheel bearing press tool kit, you can service many different cars than you can do with a single-piece tool.
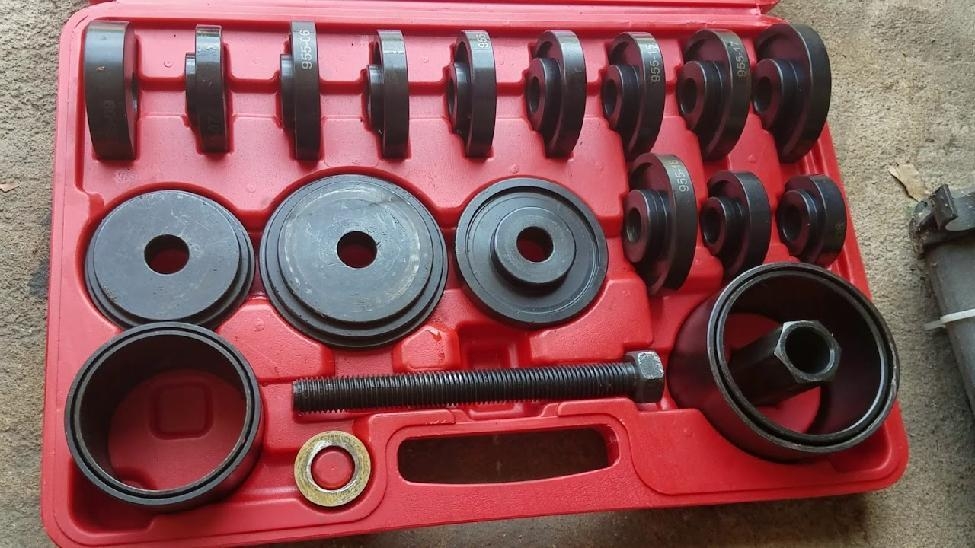
The image above shows a typical bearing press kit. Notice the many adapters of different sizes. A wheel bearing tool kit will usually contain these pieces:
● Pressure places or discs
● Various sleeves or cups
● Extractor bolts
● External hexagon drive
How to Use Wheel Bearing Tool
A wheel bearing installation tool usually won’t be a challenge to operate. However, its proper use is key to ensuring a smooth and fast process. You don’t want to end up damaging components or taking longer than usual to remove bearings. So here, we present a step-by-step procedure on how to use a wheel bearing removal tool.
What you’ll need:
● Wheel bearing tool/ Wheel bearing tool set
● Wheel hub puller tool (with slide hammer)
● Wrench and socket set
● Breaker bar
● Car jack
● Penetrating fluid to loosen bolts
● Rug
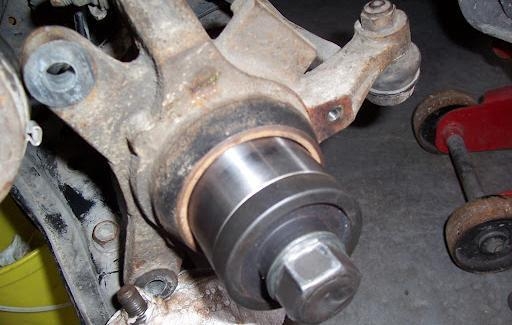
Removing a wheel bearing using a wheel bearing tool
How Use Wheel Bearing Tool to Remove a Bearing
As mentioned before, a bearing removal kit consists of different pieces. These pieces are meant to fit different applications based on the car type and model. To illustrate the usage, we will explain how to use a typical bearing press kit on a Toyota front wheel drive car. The procedure also works for various other cars. Here are steps on how to get a wheel bearing out:
Step 1: To begin the process, use your socket tools and breaker bar to slacken the wheel nuts. Raise the car so you can remove the wheels.
Step 2: Disconnect the brake lines and remove the caliper. Support the caliper with a secure strap.
Step 3: Undo both of the bolts that hold on the brake disc, remove them and then pull away the disc to allow room for working on other components.
Step 4: Install the wheel hub puller using the wheel lugs. Screw the slide hammer into the puller.
Step 5: Tug the hammer a few times to remove the wheel hub together with the wheel bearing and (in some vehicles) the wheel bearing seal as well.
Step 6: Separate the lower ball joint from the control arm and pull away the CV axle. Next, remove the dust shield.
Step 7: Remove the inner and outer bearings and wipe off any grease.
Step 8: Turn the knuckle to expose it as much as possible. Using needle-nose pliers, remove the bearing’s snap ring retainer. The retainer will be positioned in the innermost section of the steering knuckle bore.
Step 9: Select, from your wheel bearing removal tool kit, the most appropriate disc (the disc diameter should be smaller than that of the bearing’s outer race). Place the disc against the bearings outer race.
Step 10: Again, select a cup that’s larger than the bearing from the wheel bearing tool kit. The purpose of the cup is to receive (and hold) the bearing when it falls off the hub during removal.
Step 11: Select the corresponding cup lid or six and place it on top of the bearing cup. Find the long bolt in the kit and insert it through the cup, disc, and wheel bearing.
Step 12: Using a wrench and socket, turn the wheel bearing puller tool bolt. You may also attach a breaker bar for leverage. This action squeezes the old bearing out.
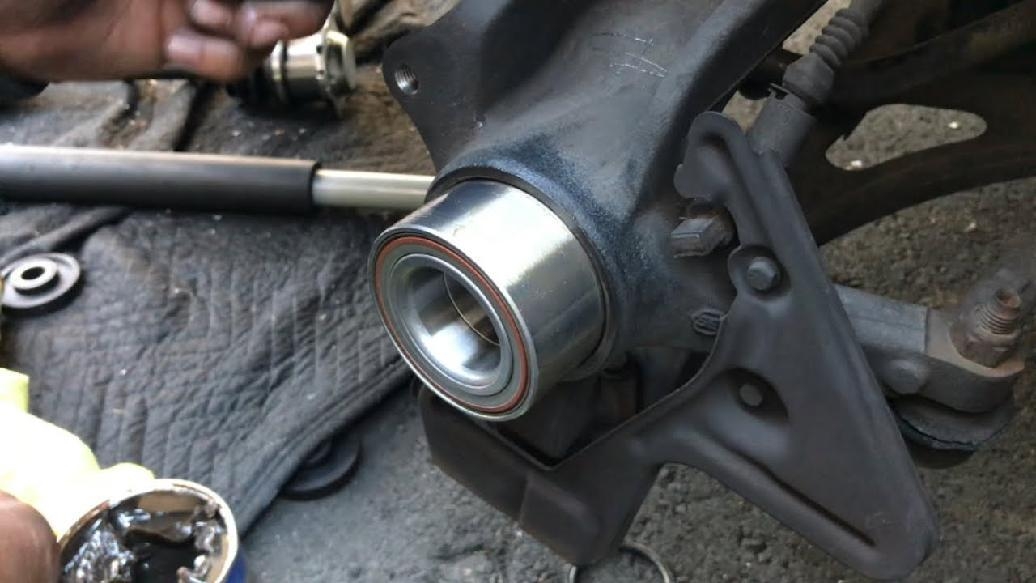
How to use a wheel bearing tool for bearing installation
How to Use Wheel Bearing Tool to Install Bearing
After using the wheel bearing extraction tool to take out the bearing, it’s now time to install a new one in its place. Here is how to do it.
Step 1: Before fitting or installing the new bearing, be sure to clean the knuckle. This will allow the bearing assembly to seat correctly. Use penetrating fluid to achieve best results.
Step 2: Fit appropriate plate/disc from the bearing press kit. The disc should be the same size as the new bearing- or smaller. Select, also, a cup to fit the bearing. Next, choose a larger diameter disc and place it against the steering knuckle outer.
Step 3: Insert the bearing press shaft or bolt into the knuckle bore. Use the same steps as the removal process to press the new bearing into the hub.
Step 4: Next, remove wheel bearing press tool and check to see if the new bearing has correctly installed.
Lastly, replace components in the reverse order that of removal; torque the bolts to match the specifications of the manufacturer. To ensure the proper reinstallation of brakes, be sure to test the brake pedal.
Post time: Dec-09-2022